Welcome to the comprehensive guide for the Stihl FS90R‚ a powerful brush cutter designed for professional and domestic use. This manual provides essential information on safety‚ maintenance‚ troubleshooting‚ and eco-friendly usage tips to ensure optimal performance and longevity of your device.
Overview of the Stihl FS90R Trimmer
The Stihl FS90R is a high-performance brush cutter designed for cutting thick vegetation and maintaining large outdoor spaces. It features a lightweight design‚ ergonomic controls‚ and a powerful engine for efficient trimming. The trimmer is compatible with various cutting attachments‚ making it versatile for different tasks. A detailed parts diagram is included to help users understand and maintain their device effectively. This manual ensures you get the most out of your Stihl FS90R.
Importance of Reading the Manual
Reading the Stihl FS90R owner’s manual is crucial for safe and effective operation. It provides detailed guidance on proper usage‚ maintenance‚ and troubleshooting. The manual ensures you understand safety precautions‚ optimal performance settings‚ and warranty conditions. By following the instructions‚ you can maximize the trimmer’s efficiency‚ prevent damage‚ and ensure longevity. Familiarizing yourself with the content helps you make the most of your Stihl FS90R while maintaining safety standards and compliance with manufacturer recommendations.
Safety Precautions and Guidelines
Safety is paramount when operating the Stihl FS90R. Always wear protective gear‚ avoid loose clothing‚ and keep bystanders away. Ensure proper handling in wet conditions.
General Safety Tips for Operating the Trimmer
Always wear protective gear‚ including gloves‚ safety glasses‚ and sturdy footwear. Ensure the trimmer is properly assembled and maintained. Avoid operating near bystanders or pets. Keep loose clothing secured and avoid working in wet conditions. Never touch hot engine parts or sharp cutting tools. Follow all safety guidelines in the manual to minimize risks and ensure safe operation of the Stihl FS90R trimmer.
Warning Symbols and Their Meanings
The Stihl FS90R manual includes warning symbols to alert users of potential hazards. These symbols indicate dangers such as rotating parts‚ hot surfaces‚ and the need for protective equipment. Understanding these symbols is crucial for safe operation. They are designed to draw immediate attention to critical safety information‚ ensuring users can operate the trimmer responsibly and avoid accidents. Always refer to the manual for detailed explanations of each symbol.

Technical Specifications of the Stihl FS90R
The Stihl FS90R features a robust engine‚ lightweight design‚ and durable construction‚ making it ideal for heavy-duty trimming and brush cutting tasks. Its specifications ensure high performance and reliability.
Engine Performance and Features
The Stihl FS90R is equipped with a high-performance two-stroke engine‚ delivering robust power for efficient cutting. It features a carburetor for precise fuel control‚ reducing emissions and enhancing fuel efficiency. The engine’s design includes a durable piston and cylinder‚ ensuring longevity and reliable operation. With an emphasis on power and efficiency‚ the FS90R’s engine is optimized for heavy-duty tasks‚ making it suitable for both professional and domestic use. Proper maintenance ensures optimal performance.
Weight and Dimensions
The Stihl FS90R weighs approximately 9.5 pounds‚ making it lightweight and easy to maneuver. Its compact design features a 48-inch shaft length‚ providing excellent balance and reach. The trimmer’s dimensions are optimized for comfort‚ allowing users to work efficiently in various environments. The unit’s ergonomic design ensures reduced fatigue during extended use‚ while its durable construction supports long-term reliability and performance. These specifications make the FS90R ideal for both professional and domestic applications. Always refer to the manual for precise measurements and specifications.
Parts Diagram and Components
The Stihl FS90R’s parts diagram is essential for understanding its components. It includes detailed exploded views of the engine and trimmer‚ helping users identify and locate parts easily for maintenance and repairs.
Understanding the Trimmer’s Components
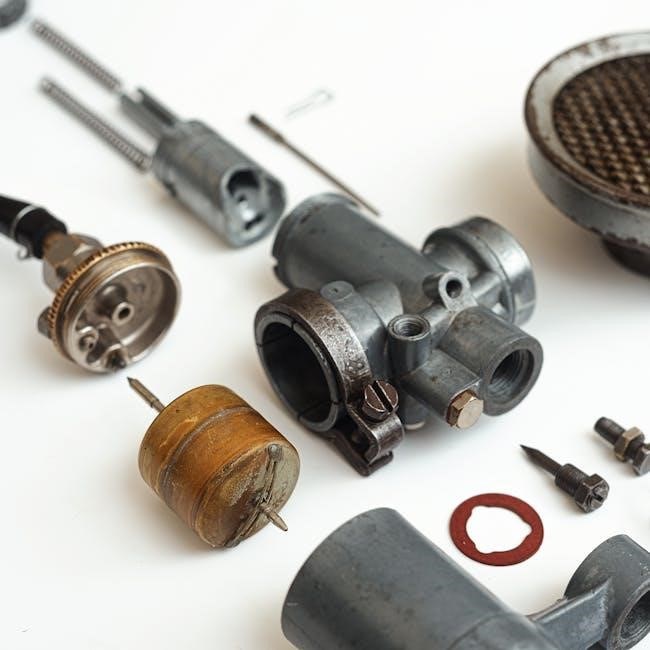
The Stihl FS90R is built with durable components designed for high performance. Key parts include the engine‚ cutting head‚ shaft‚ and handle. The engine powers the trimmer‚ while the shaft transfers energy to the cutting attachment. Familiarizing yourself with these components is crucial for proper maintenance and repairs. Refer to the parts diagram for detailed visuals and descriptions to ensure you understand how each part functions and interacts within the system.
Exploded View of the Engine and Trimmer
The exploded view in the Stihl FS90R manual provides a detailed visual breakdown of the engine and trimmer components. This diagram helps users identify and understand each part’s location and function. By referencing the exploded view‚ you can easily locate components for repairs or replacements‚ ensuring proper assembly and maintenance. Use the corresponding part numbers and descriptions to accurately identify and order genuine Stihl parts for your trimmer.
Operating Instructions
Follow safety guidelines‚ start the trimmer correctly‚ and handle it with care. Adjust settings as needed for optimal performance. Always use genuine Stihl parts and adhere to recommendations for safe and effective operation.
Starting the Trimmer
To start the Stihl FS90R‚ ensure the cutting attachment is clear of obstacles. Set the choke to the “start” position and grip the handle firmly. Prime the engine by pressing the primer bulb 3-4 times. Pull the starter rope slowly until resistance is felt‚ then pull sharply. Once the engine starts‚ allow it to warm up briefly before adjusting the choke to the “run” position. Always follow safety guidelines and ensure proper starting techniques for optimal performance.
Adjusting the Carburetor for Optimal Performance
Adjusting the carburetor on your Stihl FS90R trimmer is crucial for optimal performance. Begin by warming up the engine to ensure accurate adjustment. Locate the low-speed (“L”) and high-speed (“H”) adjustment screws. Turn the “L” screw clockwise to lean the mixture or counterclockwise to enrich it‚ adjusting until the engine runs smoothly at idle. For the “H” screw‚ open the throttle fully and adjust for the highest RPM without strain. Make small adjustments‚ test performance‚ and ensure safety by keeping the area clear. Adjustments may vary with operating conditions. Keep track of turns for easy reversion if needed.

Maintenance and Service Schedule
Regular maintenance ensures the Stihl FS90R operates efficiently. Schedule annual servicing for critical components like the air filter‚ spark plug‚ and fuel system. Replace the air filter every 50 hours of use to maintain performance and fuel efficiency. Clean or replace spark plugs annually or as needed. Inspect and replace fuel lines and gaskets if signs of wear appear. Lubricate moving parts and check blade sharpness. Store the trimmer in a dry‚ secure location during off-seasons to prevent rust and damage. Follow the recommended maintenance intervals to extend the lifespan and reliability of your trimmer.
Regular Maintenance Tasks
Perform regular checks on air filters‚ cleaning or replacing them every 50 hours. Inspect spark plugs annually and replace as needed. Lubricate the cutting head and gear system periodically. Check fuel lines and gaskets for wear and replace if necessary. Sharpen or replace the cutting blade when dull. Clean the exterior to prevent debris buildup. Store the trimmer in a dry place during off-seasons. These tasks ensure optimal performance and longevity.
Service Intervals and Recommendations
Service your Stihl FS90R every 50 hours by cleaning or replacing the air filter and checking the spark plug. Replace fuel lines and gaskets if worn. Lubricate the gear system annually. After 100 hours‚ inspect and clean the carburetor. Replace the cutting blade every 200 hours. Always use genuine Stihl parts for replacements. Refer to the service manual for detailed procedures and ensure annual professional servicing for optimal performance and longevity.

Troubleshooting Common Issues
Identify and resolve common issues with your Stihl FS90R‚ such as engine malfunction or poor cutting performance‚ by referencing the manual’s diagnostic guidelines and repair recommendations.
Diagnosing Engine Problems
Diagnosing engine issues in your Stihl FS90R involves checking fuel flow‚ air filter condition‚ and spark plug functionality. Ensure the carburetor is properly adjusted and free from debris. If the engine stalls or runs rough‚ consult the manual for detailed troubleshooting steps. Regular maintenance‚ such as cleaning or replacing worn parts‚ can prevent costly repairs and extend the life of your trimmer.
Resolving Issues with the Cutting Attachment
If the cutting attachment malfunctions‚ check for tangled line‚ damaged blades‚ or improper installation. Ensure the attachment is securely fastened and aligned with the trimmer. Regularly inspect and replace worn or damaged parts; For complex issues‚ refer to the FS90R parts diagram for guidance on disassembly and repair. Always follow safety precautions when handling sharp components and consult the manual for detailed instructions.
Stihl FS90R Brush Cutter Attachment
The Stihl FS90R brush cutter attachment is designed for heavy-duty cutting tasks‚ featuring durable metal components for prolonged use. It is compatible with various trimmer models and ideal for thick vegetation‚ ensuring efficient performance in challenging environments. Always refer to the manual for proper installation and usage guidelines.
Installing and Using the Brush Cutter
Installing the brush cutter attachment on your Stihl FS90R is straightforward. First‚ ensure compatibility with your trimmer model. Attach the cutter by aligning the coupling system and securing it firmly. Adjust the handle for comfortable operation. Start the engine at low speed and test the cutter on a small area to ensure proper function. For optimal results‚ maintain a 45-degree cutting angle and clear debris after each pass.
Best Practices for Cutting Thick Vegetation
For cutting thick vegetation with your Stihl FS90R‚ use a side-swipe technique to maintain control and avoid overheating the engine. Keep the blade sharp and properly angled to maximize efficiency. Wear protective gear‚ including gloves and eyewear‚ to ensure safety. Regularly inspect and clean the cutter to prevent damage from debris. For dense areas‚ make multiple passes at a steady pace to avoid overloading the machine.

Accessories and Compatible Parts
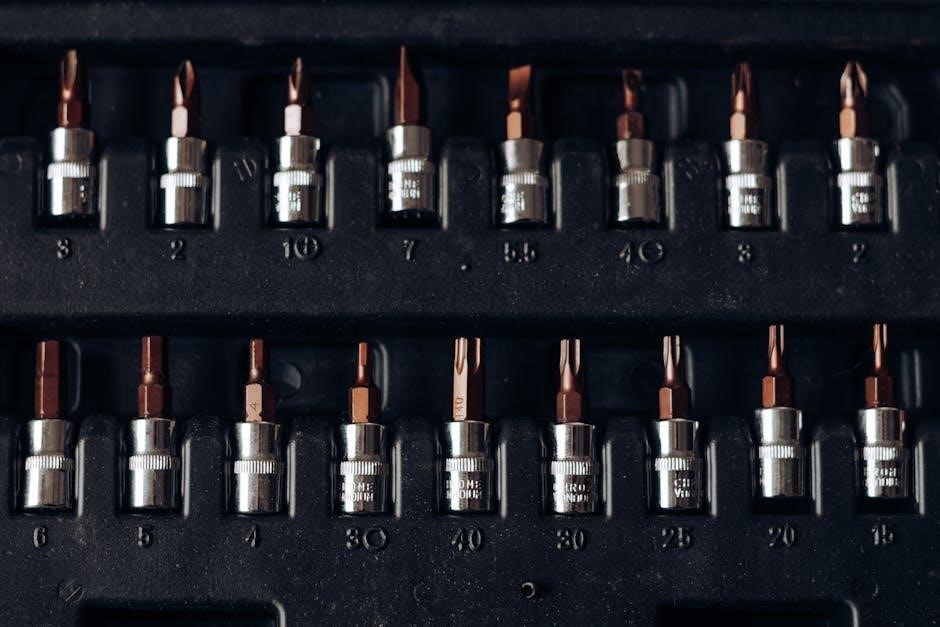
Your Stihl FS90R supports a range of accessories‚ including brush cutter attachments‚ metal blades‚ and nylon lines. Use genuine Stihl parts for optimal performance and safety.
Recommended Accessories for the FS90R
Enhance your Stihl FS90R experience with genuine accessories like brush cutter attachments‚ metal blades‚ and nylon lines. Additionally‚ consider a comfortable harness for reduced fatigue and protective gear such as gloves and eyewear. These accessories are specifically designed to optimize performance‚ safety‚ and comfort while using your trimmer. Always choose genuine Stihl parts to ensure compatibility and reliability.
Identifying Genuine Stihl Parts
Genuine Stihl parts are essential for maintaining your FS90R’s performance and warranty. Look for the official Stihl logo and part numbers on packaging and components. Verify authenticity by purchasing from authorized dealers or distributors. Be cautious of counterfeit products‚ as they may compromise safety and efficiency. Always check for quality markings and certifications to ensure you’re using original Stihl parts for your trimmer.
Environmental Considerations
Eco-friendly practices are crucial when using the Stihl FS90R. Follow proper waste disposal guidelines for oil‚ filters‚ and other materials to minimize environmental impact. Use genuine parts to ensure efficiency and reduce emissions‚ promoting sustainable gardening practices and protecting the environment for future generations.
Proper Disposal of Waste Materials
Dispose of waste materials responsibly to protect the environment. Recycle used oil‚ filters‚ and batteries according to local regulations. Check with authorized Stihl dealers for proper disposal methods. Ensure all plastic and metal parts are recycled when replacing components. Avoid draining fuel or oil into the ground‚ as it can contaminate soil and water. Follow eco-friendly practices to minimize environmental impact and promote sustainability. Proper disposal helps maintain a healthier planet for future generations.
Eco-Friendly Usage Tips
Use the correct fuel mixture as specified in the manual to ensure fuel efficiency and reduce emissions. Regularly maintain the air filter and spark plug for optimal engine performance‚ minimizing environmental impact. Avoid excessive idling and operate the trimmer at the recommended RPM to reduce fuel consumption. Use biodegradable oils and lubricants when possible. Properly dispose of waste materials and recycle used parts. Always use the appropriate cutting attachments to minimize unnecessary energy use and reduce waste.
Warranty and Customer Support
Your Stihl FS90R is backed by a comprehensive warranty. Contact authorized Stihl dealers for service inquiries or to understand coverage details. Register your product for extended support.
Understanding Your Warranty Coverage
Your Stihl FS90R is protected by a limited warranty covering defects in materials and workmanship. The warranty period varies depending on usage (residential or commercial). Proper registration and maintenance are required to validate coverage. Refer to the manual for specific terms and conditions. Regular servicing by authorized dealers ensures warranty compliance. Contact Stihl support for detailed information or assistance with claims.
Contacting Stihl Dealers and Distributors
To ensure proper support‚ contact authorized Stihl dealers for parts‚ service‚ and warranty inquiries. Visit the official Stihl website to locate your nearest dealer using the dealer locator tool. For assistance‚ call the Stihl customer service hotline or email their support team. Always verify the authenticity of Stihl parts and services through authorized distributors to maintain your product’s performance and warranty validity.